Introduction | Getting a Bird into the Frame
One of the hardest parts of photographing birds in flight with a super-telephoto lens is simply getting the bird into the frame.
You may see a bird clearly with your own eyes, only to lose it when you look through the viewfinder. Even after locating it, a slight camera movement can send it out of view.
To solve this problem, I bought the OM SYSTEM EE-1 red-dot sight.
Paired with my OM-1, it dramatically improved my success rate in framing flying birds. It also introduced an unexpected nuisance: keeping the sight properly aligned.
This is my account of how the EE-1 works, how I use it, and the advantages and drawbacks I have discovered.
As always, these are the observations of Rikutsu Konetaro, complete with personal opinions, biases, and the occasional know-it-all tendency.
1. The Challenge of Subject Acquisition
Photographing a moving bird involves several tasks: finding it, bringing it into the frame, tracking it, focusing, and releasing the shutter at the right moment.
The difficulty often begins with getting a bird you can already see into the camera’s narrow field of view.
I used the M.ZUIKO DIGITAL ED 100-400mm F5.0-6.3 IS, which offers a 35mm-equivalent focal length range of 200–800mm.
At 400mm, its diagonal angle of view is just 3.1°. Locating a moving bird within that narrow view can be surprisingly difficult.
The OM-1 has AI-based Bird Detection AF, but the bird must first be within the image area for the camera to detect it.
There is also a reason to use the longer focal lengths effectively. The OM-1 has approximately 20.4 megapixels, and heavy cropping leaves fewer pixels in the final photograph. The size of the bird in the image depends on focal length and subject distance.
By making birds easier to acquire at longer focal lengths, the EE-1 helps me take advantage of the lens’s reach.
Before the camera can capture the photograph, the photographer has to acquire the subject.
That is where the EE-1 comes in.
2. How the EE-1 Works
The EE-1 attaches to the OM-1’s hot shoe and displays an illuminated red aiming mark, or reticle, through a transparent reflective sight window.
Once aligned with the camera, the sight allows you to aim by placing the reticle over the subject.
It operates on its own button-cell battery, independently of the camera.
Photo 1 shows the EE-1 mounted on my OM-1.
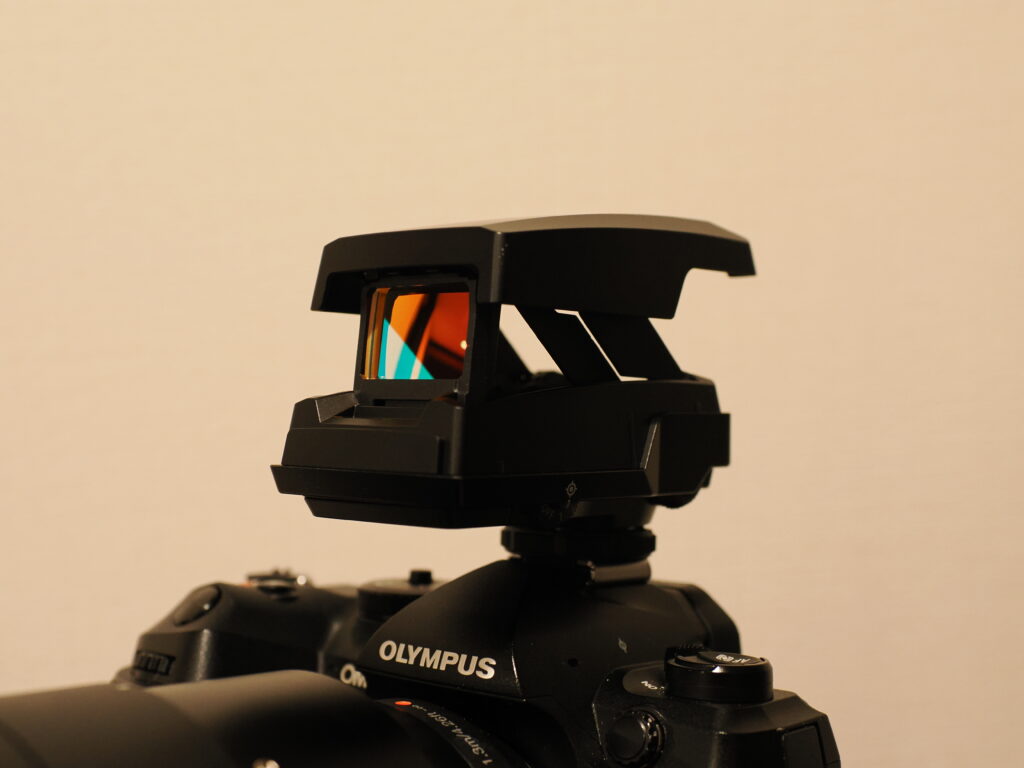
Photo 2 shows the illuminated reticle as seen through the sight.
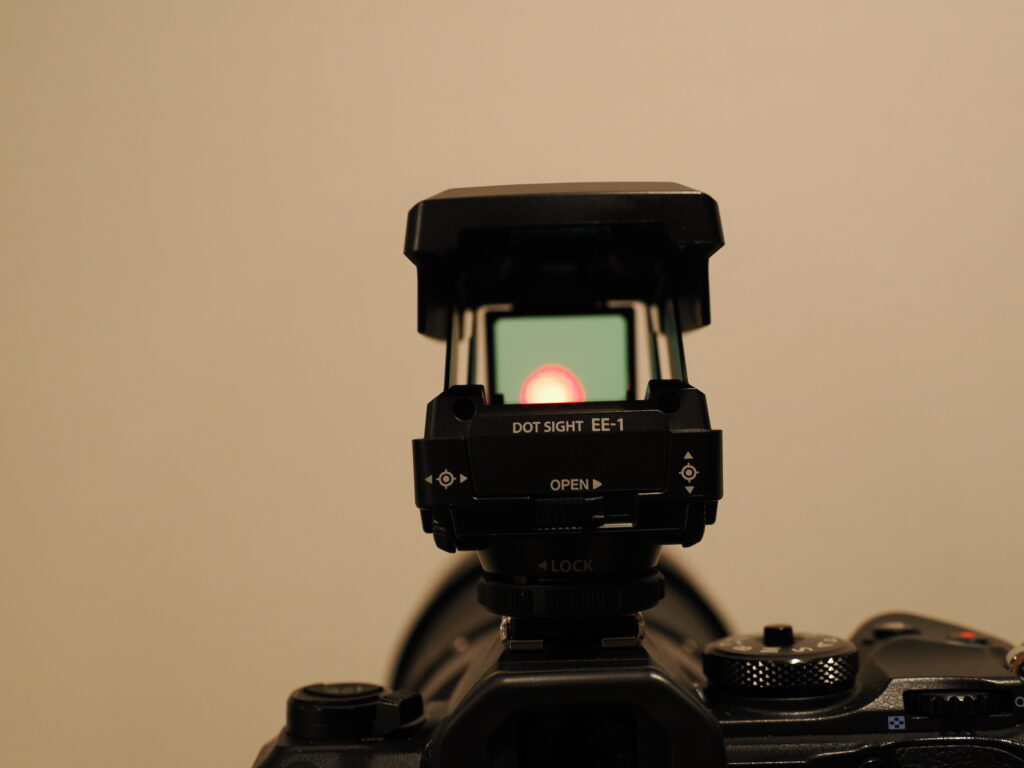
Photo 3 shows the reticle in focus.
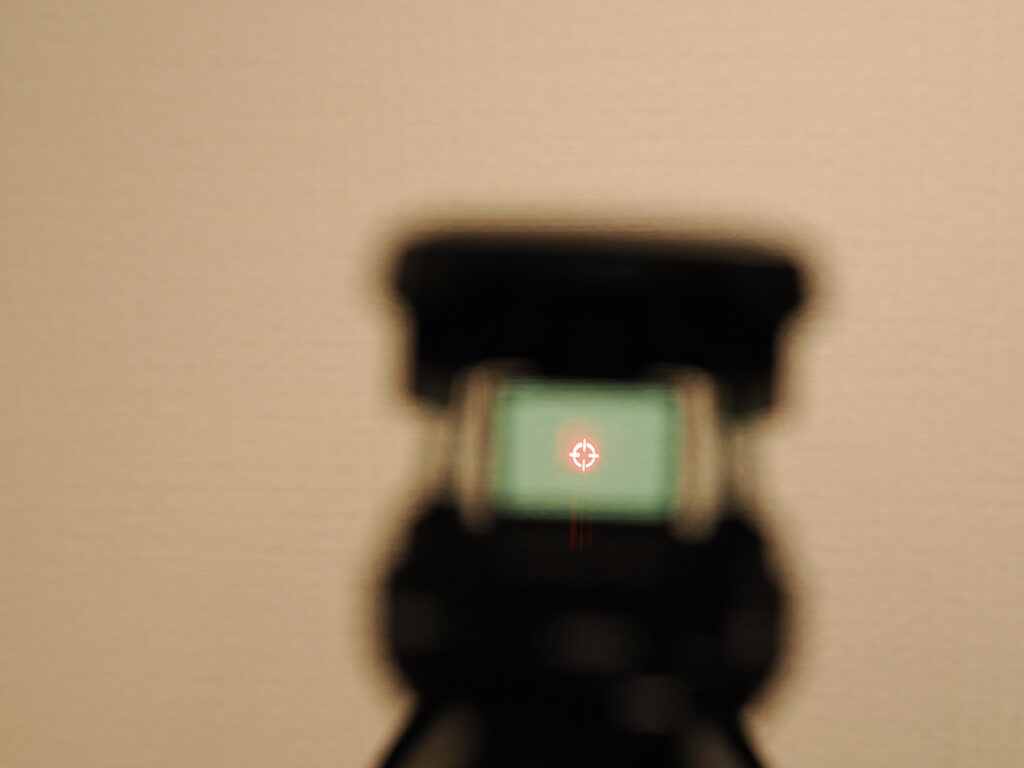
Unlike a conventional firearm’s open sights, which require aligning a front and rear sight, the EE-1 gives you a single aiming mark to place over the subject.
I can see the reticle clearly while wearing glasses, which I find particularly helpful.
Its greatest advantage is being able to aim the camera while keeping a wide, unobstructed view of the bird and its surroundings.
3. Alignment | The EE-1’s Biggest Frustration
My basic alignment procedure is straightforward:
- Mount the camera on a stable tripod.
- Center a distant, stationary target in the camera’s frame.
- Adjust the EE-1’s dials until its reticle coincides with that target.
In practice, it is considerably more troublesome than it sounds.
Finding a suitable distant target can be difficult, and the slightest camera movement is magnified at long focal lengths. A sturdy tripod helps.
The adjustment increments are another frustration. With my EE-1, each click seems to move the reticle farther than I would like. I often find myself wishing for half a click.
Alignment That Shifts During Transportation
My greatest complaint is how easily the alignment can change.
The plastic mounting structure feels less rigid than I would prefer. Slight movement at the mounting point or forces applied during transportation may contribute to the problem.
I have aligned the sight at home, placed the camera on my car’s front passenger seat, and found the reticle out of alignment upon reaching my destination.
I therefore check it before shooting and readjust it when necessary.
Frankly, it is a nuisance.
Parallax and Subject Distance
The EE-1 sits above the lens, so its line of sight is offset from the lens’s optical axis.
A difference between the alignment distance and the actual subject distance can produce a parallax error. This is separate from an alignment shift caused by movement of the sight itself.
Aligning the sight at a distance close to the intended shooting distance helps.
In practice, my goal is to bring the bird near the center of the frame, rather than achieve perfect aiming precision.
4. Photographing Birds in Flight
When shooting, I hold the camera roughly 30cm (12 inches) from my eye, with my arms extended naturally, and place the red reticle over the bird.
I can follow the bird with my eyes while moving the camera to keep the reticle on it.
With practice, I can even aim one-handed, although keeping a super-telephoto camera secure and steady remains important.
Actual Photographs
Photo 4 shows a bird flying overhead.
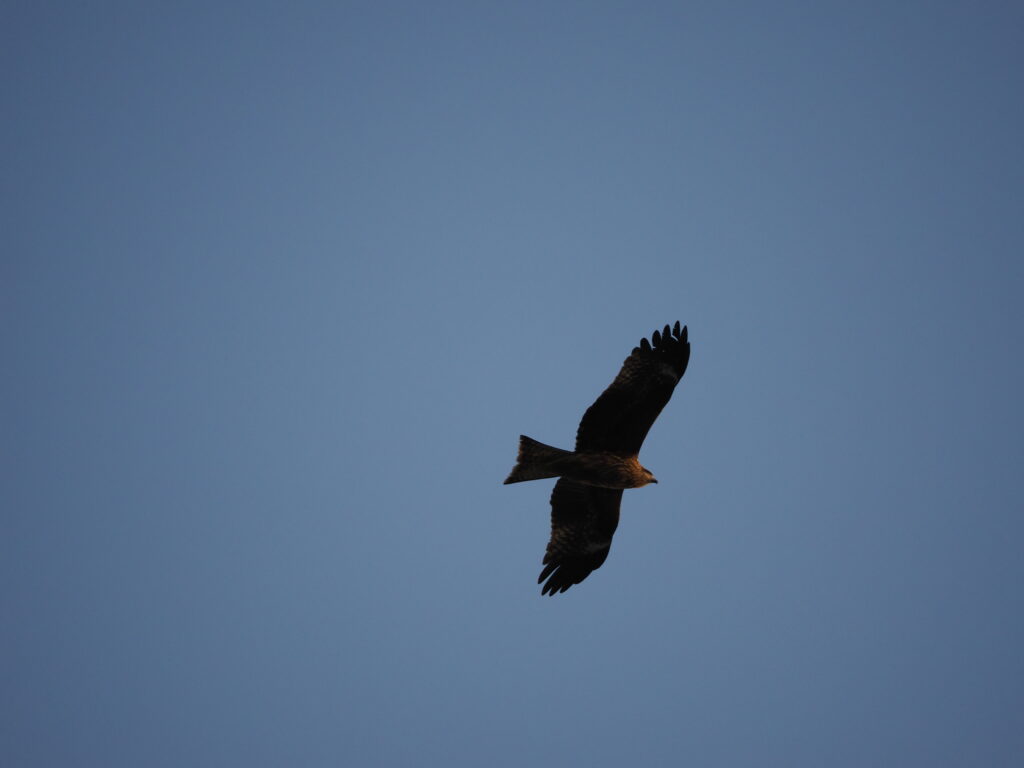
Photo 5 is a crop of Photo 4, revealing more detail in the bird’s face.
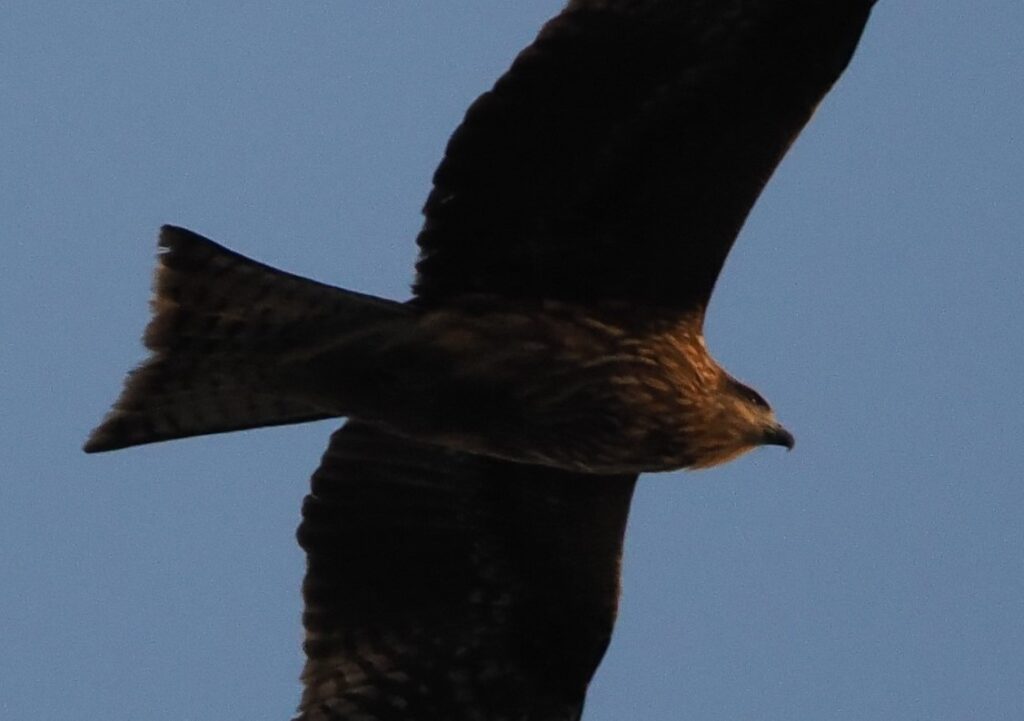
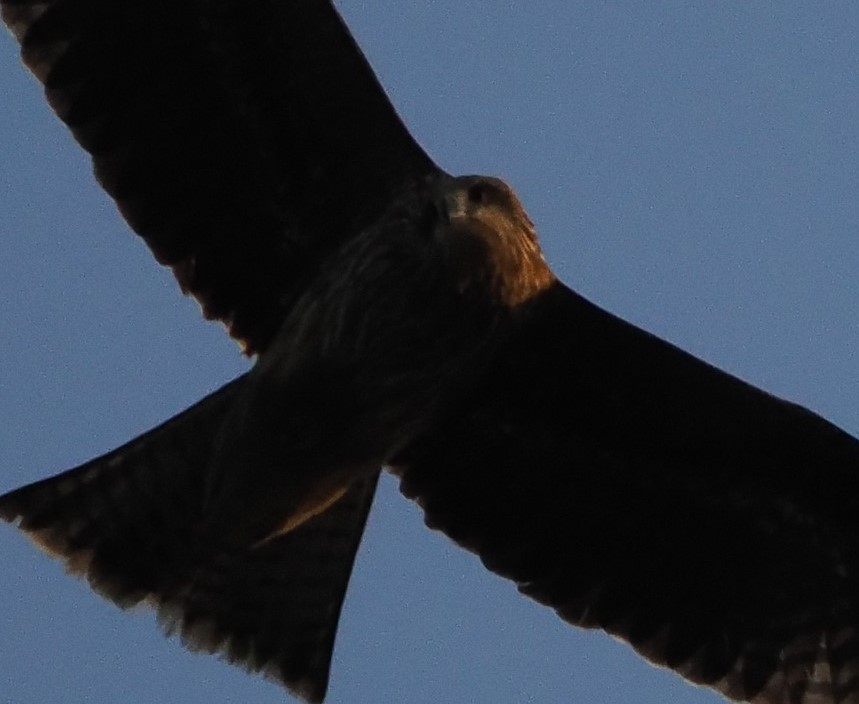
Photo 6 shows the same bird at another moment, with its head turned sideways.
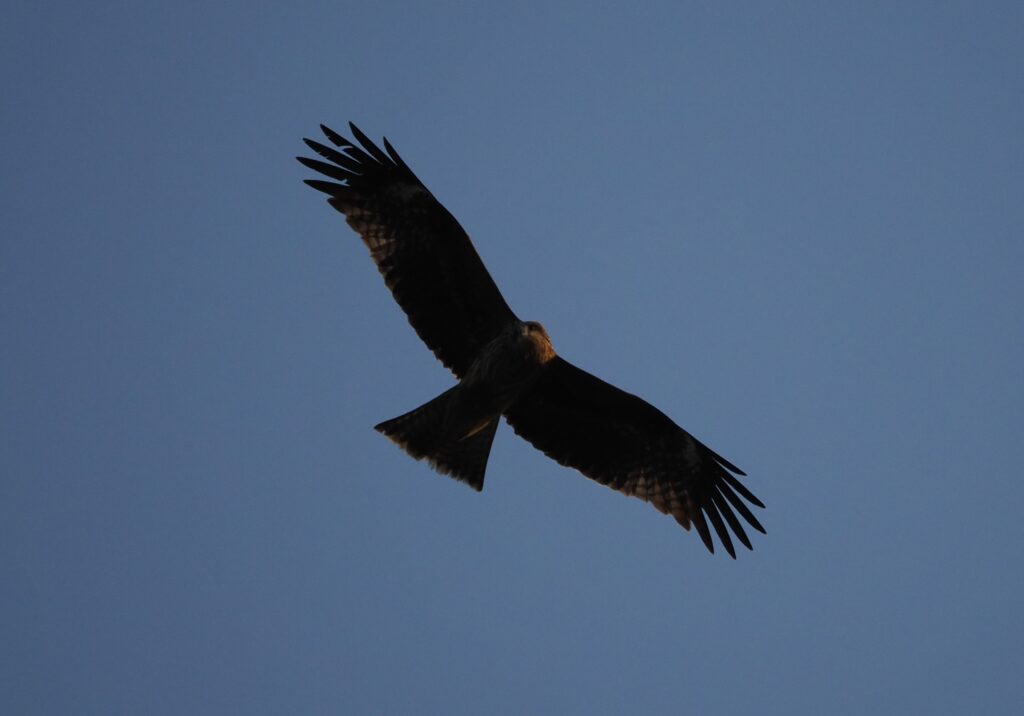
Photo 7 is a crop of Photo 6. Perhaps the bird had spotted some prey.
Since adopting the EE-1, I have found it dramatically easier to keep flying birds near the center of the frame. I have also captured more shots showing their faces and the direction of their gaze, bringing their movements to life.
The division of labor is simple: my eyes follow the bird, the EE-1 helps me aim, and the OM-1 captures the image.
5. Equipment and Further Improvements
For these photographs, I used:
- Camera: OM SYSTEM OM-1
- Lens: M.ZUIKO DIGITAL ED 100-400mm F5.0-6.3 IS
- Image format: JPEG
My lens is the original 100-400mm model. It has optical image stabilization but, unlike the later Mark II version, does not support 5-axis Sync IS.
The EE-1 has made subject acquisition easier. I can now devote more attention to improving the photographs themselves.
That includes controlling camera shake, choosing shutter speeds fast enough to reduce subject motion blur, and balancing ISO against image noise and fine detail. Autofocus settings, Bird Detection AF, and burst timing also deserve further experimentation.
Shooting from a Rocking Boat
I previously photographed birds in flight from a rocking boat using the OM-1 and the same 100-400mm lens.
My method was to acquire the bird at 100mm, then zoom gradually toward 400mm while following it.
I described that experience in My First Birds-in-Flight Success with the OM-1 ★ Tracking from a Rocking Boat with a 100-400mm Lens
A boat adds another complication: both the bird and the photographer are moving.
I expect the EE-1’s wide-view aiming method to be particularly useful in those conditions, and intend to test it on future outings.
6. The Trade-Off | Easier Shooting, More Preparation
The EE-1 makes it much easier for me to acquire and follow flying birds. I can keep the subject in sight, even while wearing glasses, and aim without looking through the camera’s viewfinder.
The price of that convenience is the effort required to align the sight. The coarse adjustment increments, mounting rigidity, and tendency to lose alignment during transportation all add work before shooting.
The EE-1 makes shooting easier by shifting some of the work to preparation.
For me, the improvement in subject acquisition more than compensates for that inconvenience.
7. Conclusion | A Photograph Begins with Acquiring the Subject
Using the EE-1 has reinforced something I had previously taken for granted: a camera’s technical capabilities produce results only when the photographer can put them to use.
Even an excellent lens and sophisticated autofocus system depend on getting the subject into the frame.
The EE-1 connects the wide field of human vision with the narrow field of view of a super-telephoto lens.
I will continue using this small, remarkably useful, and occasionally frustrating accessory.
Bravo, red-dot sight.
Explore Other Subjects
These automotive articles are one part of a broader collection covering boating, fishing, photography, technology, human behavior, history, and life decisions.
English Articles : A Topic-by-Topic Guide to This Site
Want to know more about the author and the thinking behind this site?
→ About Rikutsu-Kone-Taro
